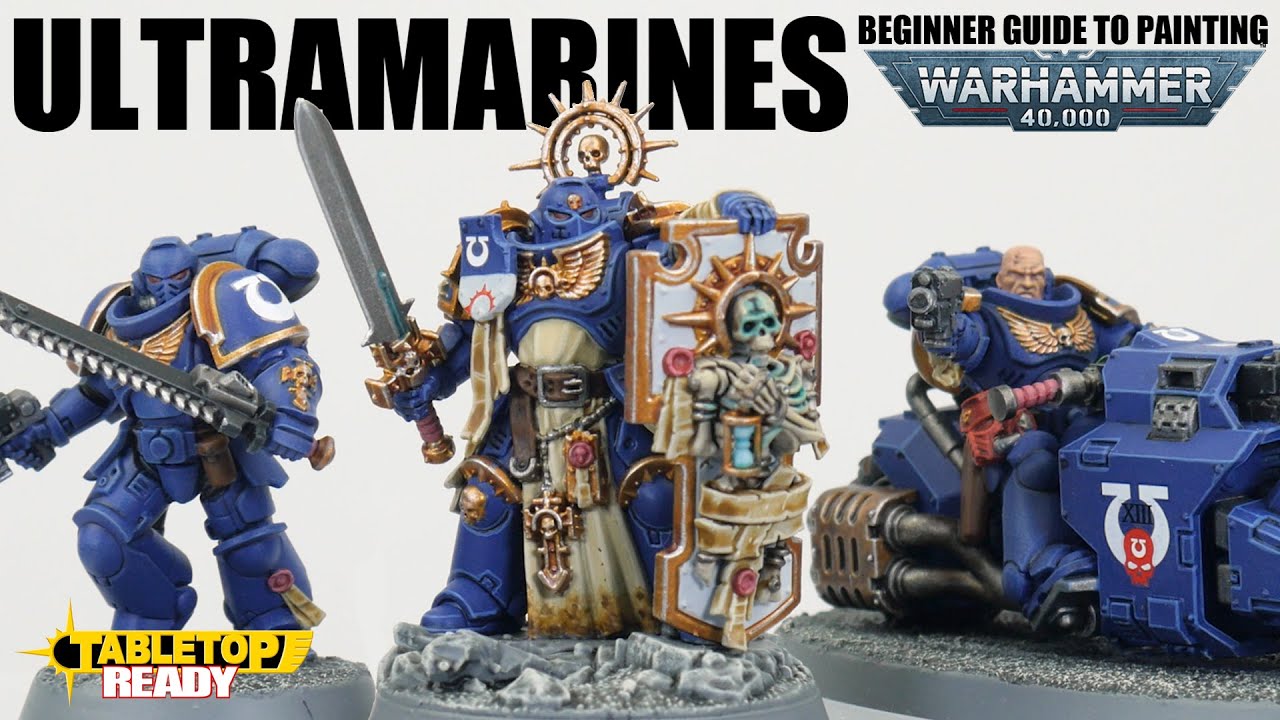
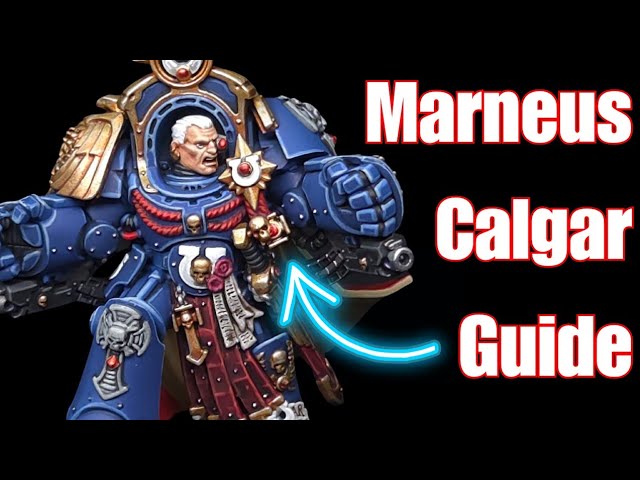
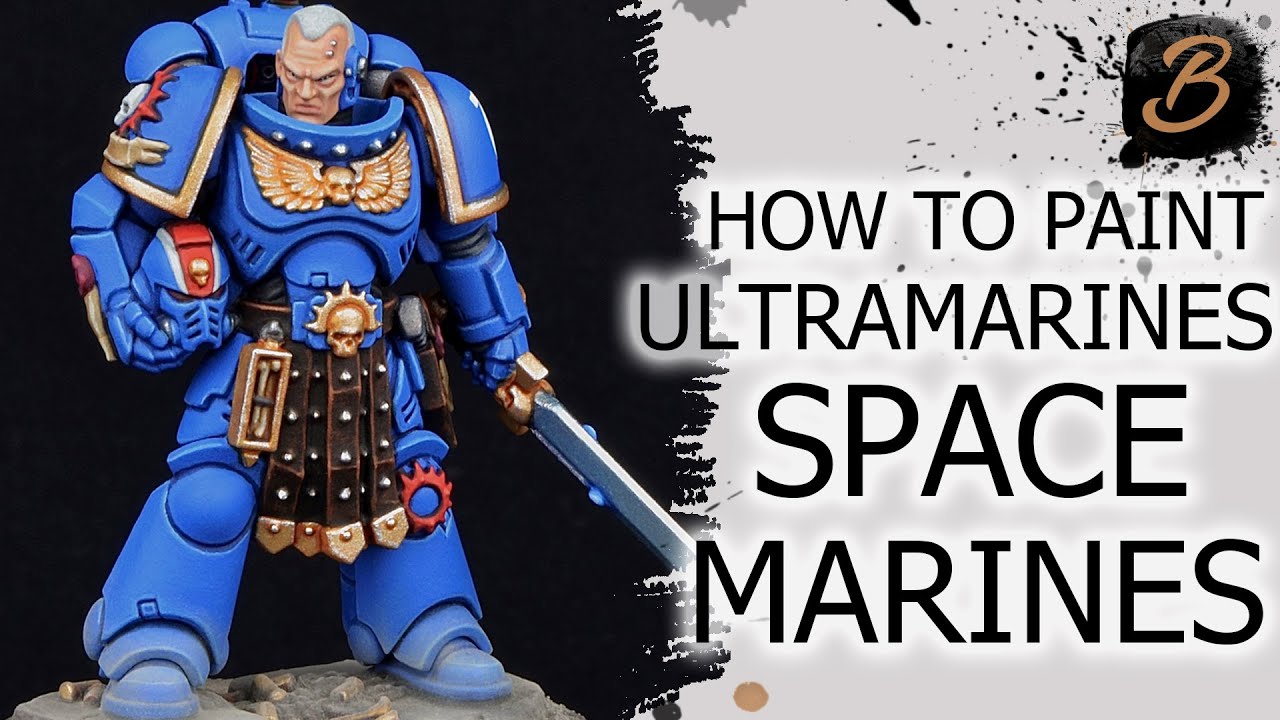
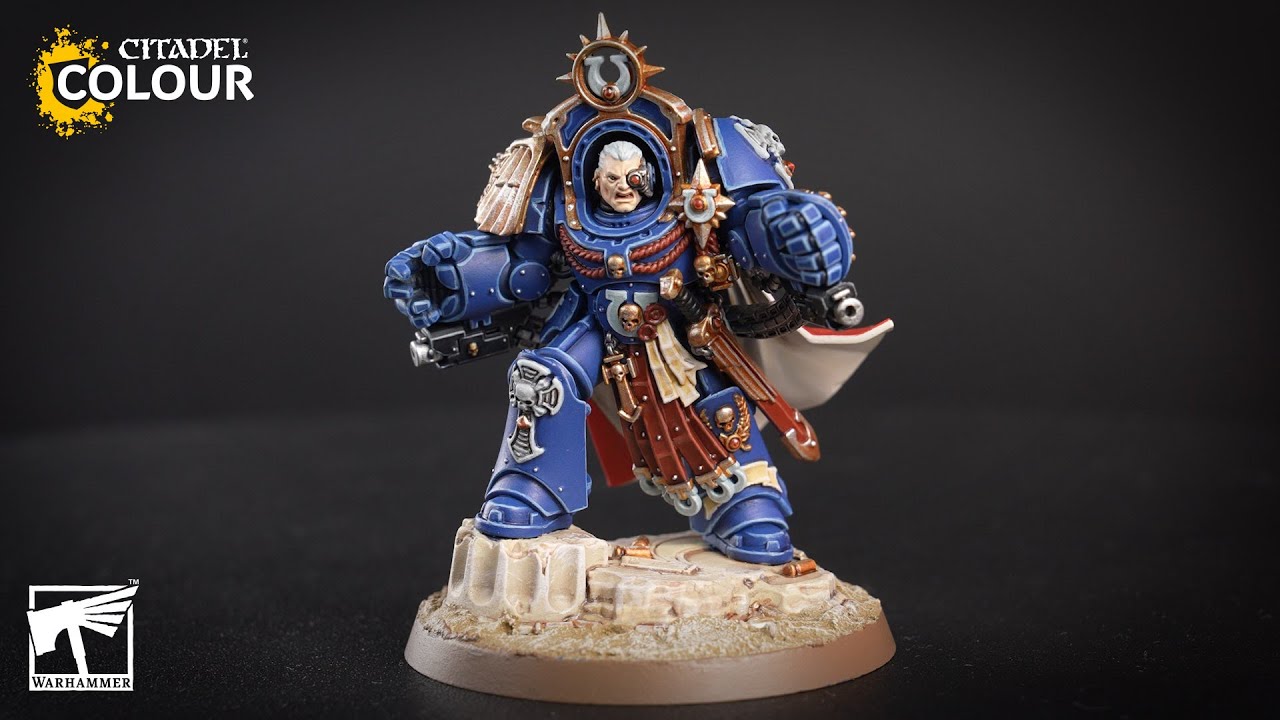
This tutorial demonstrates how to paint a Ballistus Dreadnought, focusing on techniques like layering, glazing, and various highlighting stages (chunky, edge, fine, spot) for the armour. It also covers painting metallic details, weapons, missiles, and lenses with different base colors, washes, and highlights to achieve a striking finish.
Steps
Armour
13 steps-
1. Undercoat the Dreadnought using Macragge Blue spray.
Macragge Blue Warhammer Colour (Citadel) -
2. Paint a base color for the armour, ensuring even coverage and avoiding paint buildup.
Macragge Blue Warhammer Colour (Citadel) -
3. Apply a second layer of Macragge Blue base coat for a stronger color, allowing each layer to dry completely.
Macragge Blue Warhammer Colour (Citadel) -
4. Prepare a glaze by mixing two parts water to one part paint (Kantor Blue). Apply the Kantor Blue glaze around armour edges and areas to create smooth transitions and define shapes.
Kantor Blue Warhammer Colour (Citadel) -
5. Apply Night Lords Blue glaze to shift into darker tones for the armour, using the same glazing process.
Night Lords Blue Warhammer Colour (Citadel) -
6. Use Macragge Blue glaze to smooth out transitions between Kantor Blue and Night Lords Blue, ensuring thin, even layers.
Macragge Blue Warhammer Colour (Citadel) -
7. Apply Night Lords Blue directly into recesses to bring out features and details, focusing on precise application rather than an all-over wash.
Night Lords Blue Warhammer Colour (Citadel) -
8. Apply a chunky highlight along edges and raised details of the armour.
Altdorf Guard Blue Warhammer Colour (Citadel) -
9. Apply an edge highlight along edges and details to further define them, angling the brush against the edge for easier application.
Calgar Blue Warhammer Colour (Citadel) -
10. Apply a fine highlight to emphasize more prominent areas and edges of the armour.
Fenrisian Grey Warhammer Colour (Citadel) -
11. Apply small dots (spot highlight) on corners of the armour where light would be most focused.
Blue Horror Warhammer Colour (Citadel) -
12. Paint small scuffs, marks, and scratches around the armour to simulate wear and tear.
Calgar Blue Warhammer Colour (Citadel) -
13. Paint Rhinox Hide into some recesses around the feet to create the impression of dirt buildup.
Rhinox Hide Warhammer Colour (Citadel)
Metal Details
10 steps-
1. For functional silver areas like the leg joints, apply a base coat.
Iron Warriors Warhammer Colour (Citadel) -
2. For weapon silver details, apply a base coat.
Leadbelcher Warhammer Colour (Citadel) -
3. For silver details that need to stand out more, apply a base coat.
Iron Hands Steel Warhammer Colour (Citadel) -
4. Apply a Nuln Oil wash over all silver areas to create definition and bring out details, ensuring enough coverage without excessive pooling.
Nuln Oil Warhammer Colour (Citadel) -
5. For functional gold areas like trims and bullets, apply a base coat.
Retributor Armour Warhammer Colour (Citadel) -
6. Apply a Reikland Fleshshade wash over functional gold to create definition.
Reikland Fleshshade Warhammer Colour (Citadel) -
7. Apply an edge highlight to functional gold details.
Canoptek Alloy Warhammer Colour (Citadel) -
8. For decorative gold areas like the chest eagle and trinkets, apply a base coat.
Liberator Gold Warhammer Colour (Citadel) -
9. Apply a Reikland Fleshshade wash over decorative gold to create definition.
Reikland Fleshshade Warhammer Colour (Citadel) -
10. Mix equal parts Liberator Gold and Stormhost Silver. Paint raised areas of decorative gold, making sure not to cover shaded recesses.
Stormhost Silver Warhammer Colour (Citadel)
Weapons and Related Details
17 steps-
1. Paint weapon details and armour that need to be black with a solid base coat.
Abaddon Black Warhammer Colour (Citadel) -
2. Apply a chunky highlight along edges and around recesses of black areas.
Eshin Grey Warhammer Colour (Citadel) -
3. Apply an edge highlight to black areas.
Dawnstone Warhammer Colour (Citadel) -
4. Apply a fine highlight to black areas.
Administratum Grey Warhammer Colour (Citadel) -
5. Apply spot highlights as small dots on the corners of black areas.
Ulthuan Grey Warhammer Colour (Citadel) -
6. For ribbon and cables, do a chunky highlight.
Corvus Black Warhammer Colour (Citadel) -
7. For ribbon and cables, paint line highlights.
Dawnstone Warhammer Colour (Citadel) -
8. For missile bases, start with a black base coat.
Abaddon Black Warhammer Colour (Citadel) -
9. Gradually lighten missile tips, starting with Khorne Red.
Khorne Red Warhammer Colour (Citadel) -
10. Continue lightening missile tips with Mephiston Red.
Mephiston Red Warhammer Colour (Citadel) -
11. Finish missile tips with a dot on the very tips.
Troll Slayer Orange Warhammer Colour (Citadel) -
12. For lenses, start with a black base coat.
Abaddon Black Warhammer Colour (Citadel) -
13. Add Khorne Red to the bottom left of the lens.
Khorne Red Warhammer Colour (Citadel) -
14. Move on to Mephiston Red for the lens, getting lighter towards the rim.
Mephiston Red Warhammer Colour (Citadel) -
15. Paint a thin line around the edge of the lens.
Troll Slayer Orange Warhammer Colour (Citadel) -
16. Paint a final line along the bottom edge of the lens.
Fire Dragon Bright Warhammer Colour (Citadel) -
17. Paint dots on the line in the top right corner of the lens.
White Scar Warhammer Colour (Citadel)
Small Details
11 steps-
1. For red cables, apply a base coat.
Khorne Red Warhammer Colour (Citadel) -
2. Highlight red cables.
Mephiston Red Warhammer Colour (Citadel) -
3. For yellow cables, apply a base coat.
Averland Sunset Warhammer Colour (Citadel) -
4. Highlight yellow cables.
Ushabti Bone Warhammer Colour (Citadel) -
5. For blue cables, apply a base coat.
Macragge Blue Warhammer Colour (Citadel) -
6. Highlight blue cables.
Calgar Blue Warhammer Colour (Citadel) -
7. Paint the stripe base onto the armour, ensuring neatness.
Corax White Warhammer Colour (Citadel) -
8. Apply Karak Stone glaze along the bottom edge of the stripe.
Karak Stone Warhammer Colour (Citadel) -
9. Apply Baneblade Brown glaze along the bottom edge of the stripe to build up dirt and grime.
Baneblade Brown Warhammer Colour (Citadel) -
10. Edge highlight the stripe.
White Scar Warhammer Colour (Citadel) -
11. Neaten up any areas around the stripe using the base blue colour if necessary.
Corax White Warhammer Colour (Citadel)
Paints used
33 paints- Macragge Blue Warhammer Colour (Citadel) · Base
- Kantor Blue Warhammer Colour (Citadel) · Base
- Night Lords Blue Warhammer Colour (Citadel) · Base
- Altdorf Guard Blue Warhammer Colour (Citadel) · Layer
- Calgar Blue Warhammer Colour (Citadel) · Layer
- Fenrisian Grey Warhammer Colour (Citadel) · Layer
- Blue Horror Warhammer Colour (Citadel) · Layer
- Rhinox Hide Warhammer Colour (Citadel) · Base
- Iron Warriors Warhammer Colour (Citadel) · Base
- Leadbelcher Warhammer Colour (Citadel) · Base
- Iron Hands Steel Warhammer Colour (Citadel) · Base
- Nuln Oil Warhammer Colour (Citadel) · Shade
- Retributor Armour Warhammer Colour (Citadel) · Base
- Reikland Fleshshade Warhammer Colour (Citadel) · Shade
- Canoptek Alloy Warhammer Colour (Citadel) · Layer
- Liberator Gold Warhammer Colour (Citadel) · Layer
- Stormhost Silver Warhammer Colour (Citadel) · Layer
- Abaddon Black Warhammer Colour (Citadel) · Base
- Eshin Grey Warhammer Colour (Citadel) · Layer
- Dawnstone Warhammer Colour (Citadel) · Dry
- Administratum Grey Warhammer Colour (Citadel) · Layer
- Ulthuan Grey Warhammer Colour (Citadel) · Layer
- Corvus Black Warhammer Colour (Citadel) · Base
- Khorne Red Warhammer Colour (Citadel) · Base
- Mephiston Red Warhammer Colour (Citadel) · Base
- Troll Slayer Orange Warhammer Colour (Citadel) · Layer
- Fire Dragon Bright Warhammer Colour (Citadel) · Layer
- White Scar Warhammer Colour (Citadel) · Layer
- Averland Sunset Warhammer Colour (Citadel) · Base
- Ushabti Bone Warhammer Colour (Citadel) · Layer
- Corax White Warhammer Colour (Citadel) · Base
- Karak Stone Warhammer Colour (Citadel) · Layer
- Baneblade Brown Warhammer Colour (Citadel) · Layer