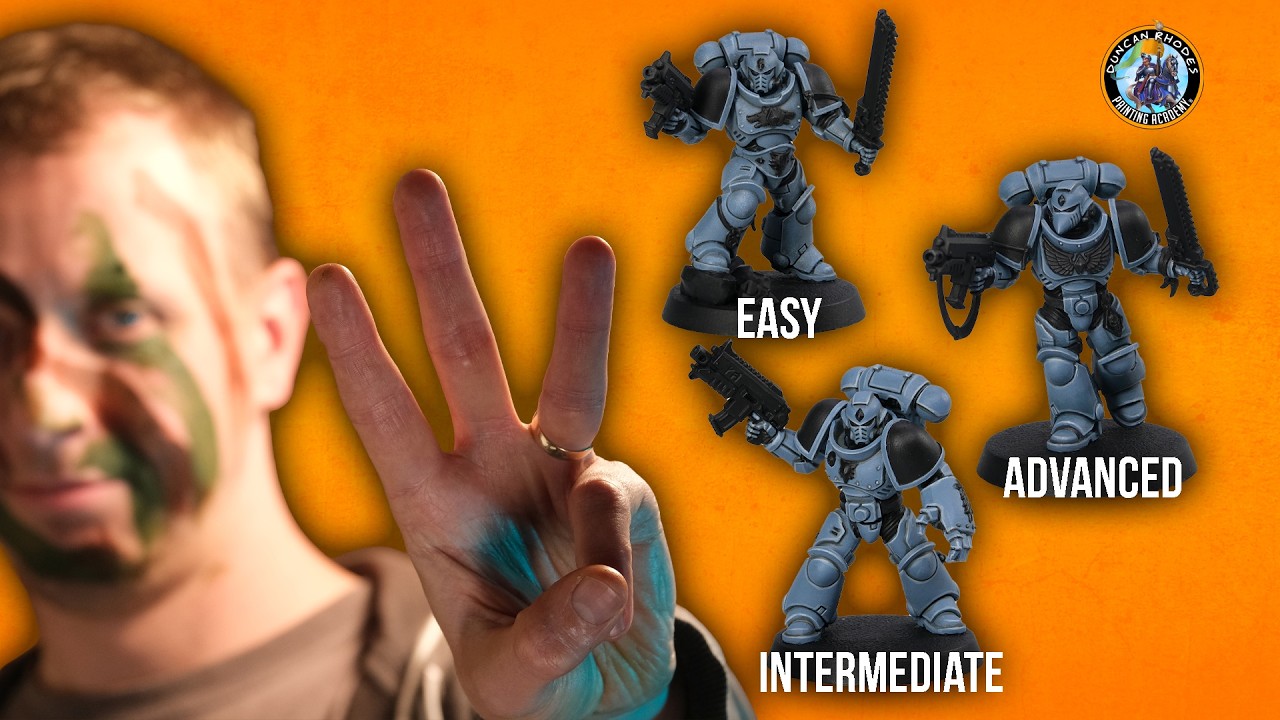
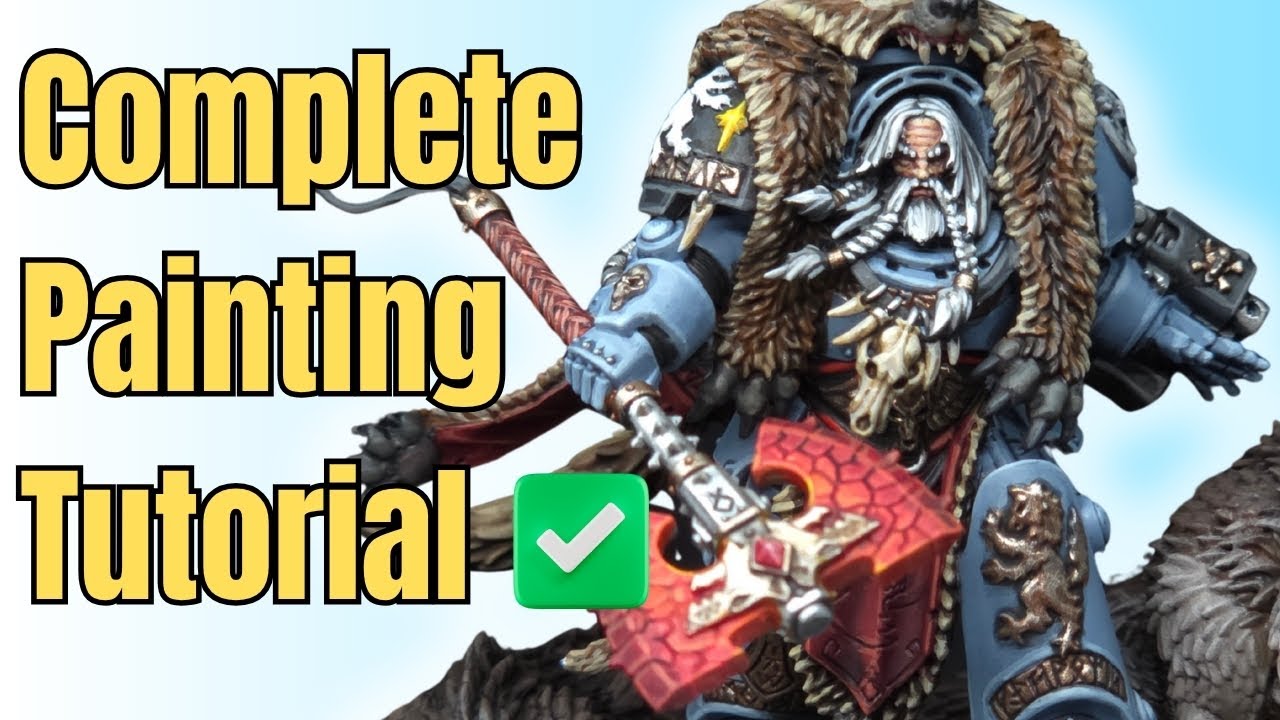
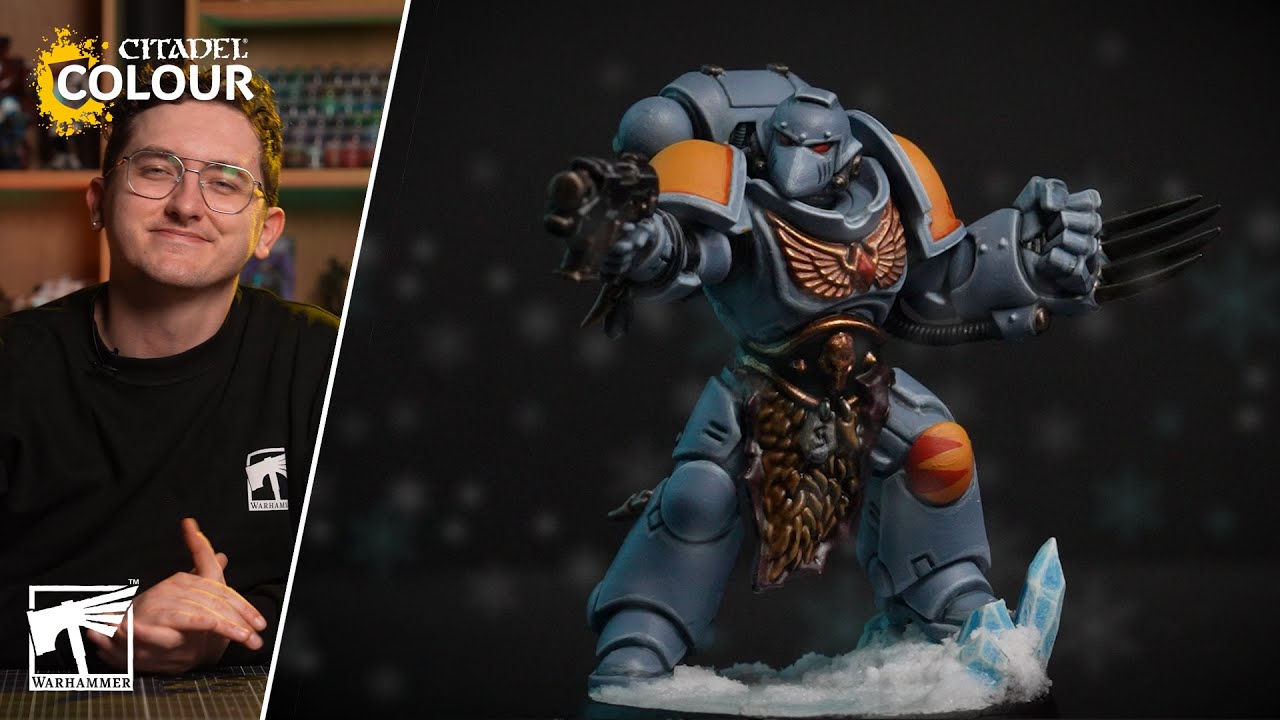
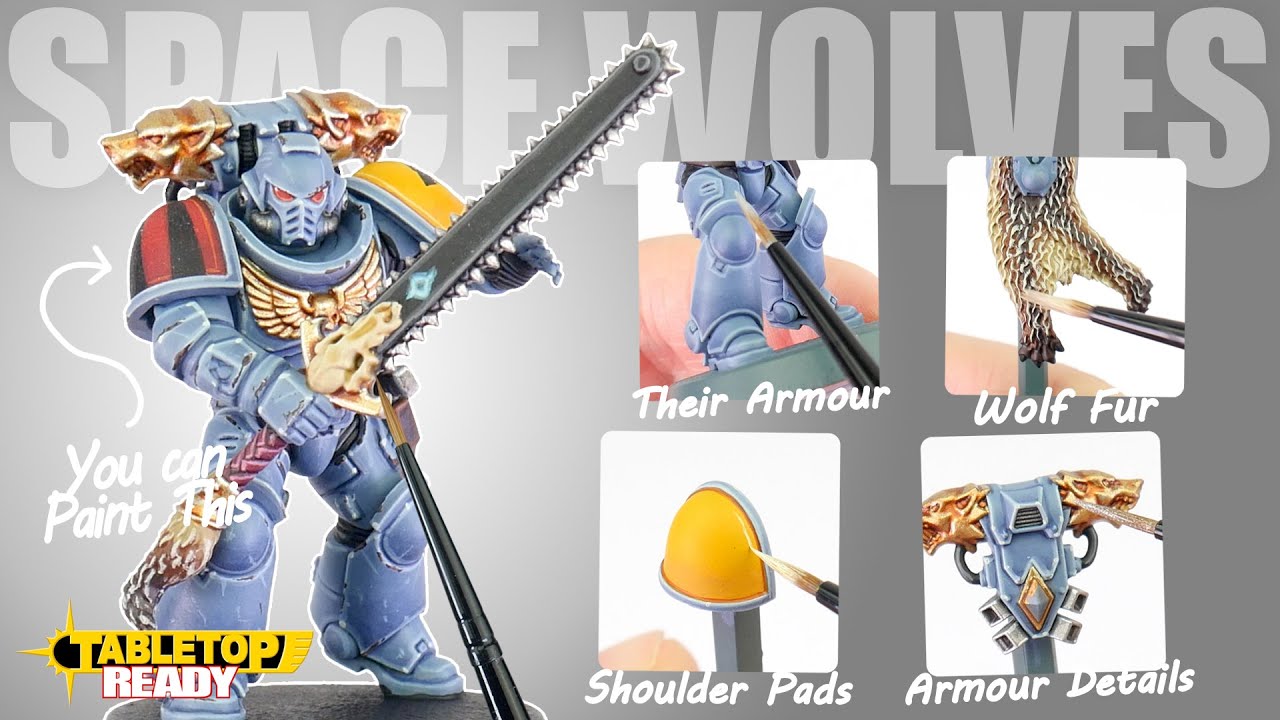
This tutorial demonstrates how to paint Space Wolves Power Armour in its classic light blue colour scheme. It covers drybrushing techniques for creating gradients, applying base coats for various details like metallics, leather, and bones, and using washes and edge highlights to bring out depth and detail. The video also includes steps for painting faces and creating a snow-covered base.
Steps
Power Armour (Base Colour & Shading)
3 steps-
1. Prime the model using a grey primer that offers a good starting colour for blue armour.
Wolfkin Grey Colour Forge -
2. Apply a thin layer of Wolf Grey to your palette, dampen your brush slightly, and work the paint through the bristles. Then apply a combination of tight circular strokes and a stippling motion to the armour, focusing on upper areas to start shading.
Wolf Grey Two Thin Coats -
3. Enhance the effect with a second drybrush of Gravestone Blue. Focus the application to smaller areas that would be hit with the most natural light, repeating the drybrushing steps.
Gravestone Blue Two Thin Coats
Steel Details
-
Apply a base coat to all steel details on the model, including weapon blades, armour details, and power pack vents.
Sir Coates Silver Two Thin Coats
Gold Details
-
Apply a base coat of Dragon's Gold to all gold details, building up the paint over a couple of layers.
Dragon's Gold Two Thin Coats
Dark Armour Sections & Weapon Grips
-
Apply a base coat to the segmented sections between the armour, pipes, and remaining parts of the weaponry.
Death Reaper Two Thin Coats
Leather Details
-
Give the leather details, such as the belt, pouches, and necklaces, a base coat of Scorched Earth.
Scorched Earth Two Thin Coats
Bone & Teeth Details
-
Pick out the bones and teeth with a base coat of Dragon Fang.
Dragon Fang Two Thin Coats
Rock & Rune Details
-
Apply a base coat to any rocks on the base or runes scattered across the model.
Wizard Grey Two Thin Coats
Weapon Handle Wraps
-
Apply a base coat to the wrapping around any weapon handles.
Royal Cloak Two Thin Coats
Shoulder Pads & Knee Pads (Yellow for Blood Claws)
2 steps-
1. Paint the right shoulder pad and right kneepad with a base coat. You may need three or four thin coats for a pleasing result.
Dark Sun Yellow Two Thin Coats -
2. For a Blackmane model, the left shoulder pad is also painted yellow.
Dark Sun Yellow Two Thin Coats
Shoulder Pad Markings (Red for Blood Claws)
-
Thin your paint and apply three evenly spaced dots where you want the points to be, then apply straight diagonal lines to create the outline, before filling in the shape and cleaning up the edges.
Sanguine Scarlet Two Thin Coats
Washes (Shading)
2 steps-
1. Heavily thin some Cygor Brown contrast paint with water to create a mixture that easily flows into recesses. Carefully target this mixture into the recesses of the armour, gold details, leather details, and fur to create the appearance of shadows and bring out surrounding details.
Cygor Brown Warhammer Colour (Citadel) -
2. Apply a thin wash to the silver details to create shadows and bring out the surrounding details.
Oblivion Black Wash Two Thin Coats
Edge Highlights (Power Armour)
2 steps-
1. Use a lighter paint than the base coat to line the edges and pick out details. Apply Wolf Grey across the ridges of the armour.
Wolf Grey Two Thin Coats -
2. For an even brighter highlight, mix a little white paint into your Wolf Grey. Apply this lighter mix to just the corners or sharper details.
White Star Two Thin Coats
Edge Highlights (Steel)
-
Apply a highlight to the steel details.
Mythril Blade Two Thin Coats
Edge Highlights (Gold)
-
Apply a highlight to the more decorative gold areas.
Glistening Gold Two Thin Coats
Edge Highlights (Dark Armour Sections)
-
Pick out areas previously painted with Death Reaper.
Wizard Grey Two Thin Coats
Edge Highlights (Leather)
-
Apply a highlight across the leather straps and pouches.
Ancient Forest Two Thin Coats
Edge Highlights (Bone/Teeth)
-
Add small dots to the bone details.
Ivory Tusk Two Thin Coats
Edge Highlights (Fur)
-
Pick out the strands of wolf fur.
Temple Stone Two Thin Coats
Edge Highlights (Stone)
-
Highlight the edges of the stones.
Carcharodon Grey Two Thin Coats
Edge Highlights (Weapon Handle Wraps)
-
Highlight the handle wraps of the weaponry.
Sword Hilt Burgundy Two Thin Coats
Shoulder Pad Markings (Yellow Highlights)
-
Highlight the yellow areas of the shoulder pad markings.
Yellow Flame Two Thin Coats
Shoulder Pad Markings (Red Highlights)
-
Highlight the red areas of the shoulder pad markings previously painted with Sanguine Scarlet.
Demon Red Two Thin Coats
Hair (Red Mohawks)
3 steps-
1. Apply a base coat for the hair.
Fanatic Orange Two Thin Coats -
2. Wash the hair to add shading while preserving the orange coloration.
Hellion Red Wash Two Thin Coats -
3. Pick out the lines of the hair.
Orange Flare Two Thin Coats
Skin (Face)
3 steps-
1. Apply a base coat to the skin.
Barbarian Brawn Two Thin Coats -
2. Lightly thin the paint with water and carefully paint it across the face, leaving the recesses as the darker Barbarian Brawn. Build up the application slowly for a smoother finish.
Dwarven Skin Two Thin Coats -
3. Highlight the most prominent facial features by steadily building up layers of thinned paint.
Elven Skin Two Thin Coats
Base (Dirt/Ground)
2 steps-
1. Apply texture paste to the base, being careful not to spill onto the model itself.
Dark Earth AK Interactive -
2. After the texture paste dries, lightly drybrush the surface to create the appearance of frozen ground.
Carcharodon Grey Two Thin Coats
Base Rim (Cleanup)
-
Clean up the rim of the base with a flat black marker.
Flat Black AK Interactive
Paints used
30 paints- Wolfkin Grey Colour Forge · Spray
- Wolf Grey Two Thin Coats · Midtone
- Gravestone Blue Two Thin Coats · Highlight
- Sir Coates Silver Two Thin Coats · Metallic
- Dragon's Gold Two Thin Coats · Metallic
- Death Reaper Two Thin Coats · Midtone
- Scorched Earth Two Thin Coats · Shadow
- Dragon Fang Two Thin Coats · Shadow
- Wizard Grey Two Thin Coats · Shadow
- Royal Cloak Two Thin Coats · Shadow
- Dark Sun Yellow Two Thin Coats · Shadow
- Sanguine Scarlet Two Thin Coats · Midtone
- Cygor Brown Warhammer Colour (Citadel) · Contrast
- Oblivion Black Wash Two Thin Coats · Wash
- White Star Two Thin Coats · Highlight
- Mythril Blade Two Thin Coats · Metallic
- Glistening Gold Two Thin Coats · Metallic
- Ancient Forest Two Thin Coats · Midtone
- Ivory Tusk Two Thin Coats · Midtone
- Temple Stone Two Thin Coats · Highlight
- Carcharodon Grey Two Thin Coats · Midtone
- Sword Hilt Burgundy Two Thin Coats · Midtone
- Yellow Flame Two Thin Coats · Highlight
- Demon Red Two Thin Coats · Highlight
- Fanatic Orange Two Thin Coats · Midtone
- Hellion Red Wash Two Thin Coats · Wash
- Orange Flare Two Thin Coats · Highlight
- Barbarian Brawn Two Thin Coats · Shadow
- Dwarven Skin Two Thin Coats · Midtone
- Elven Skin Two Thin Coats · Highlight