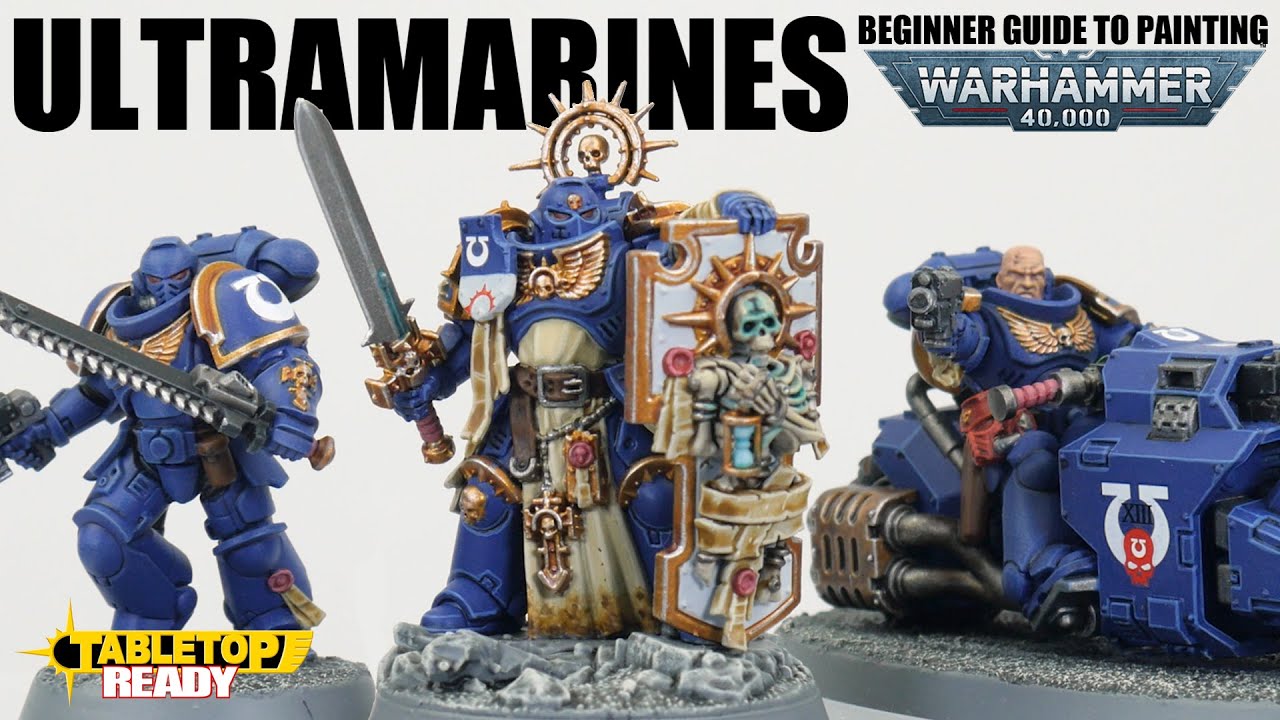
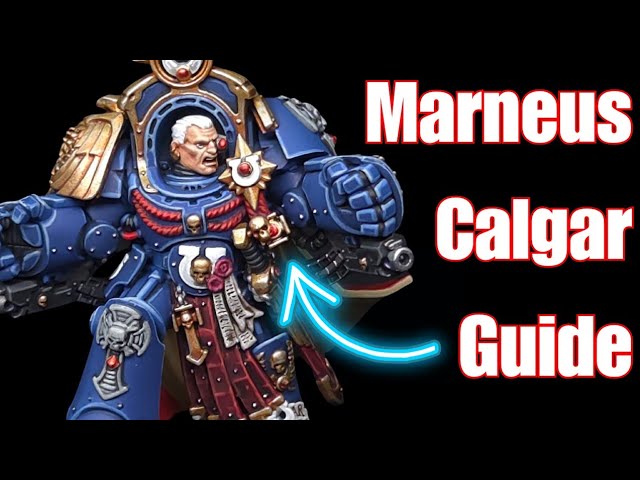
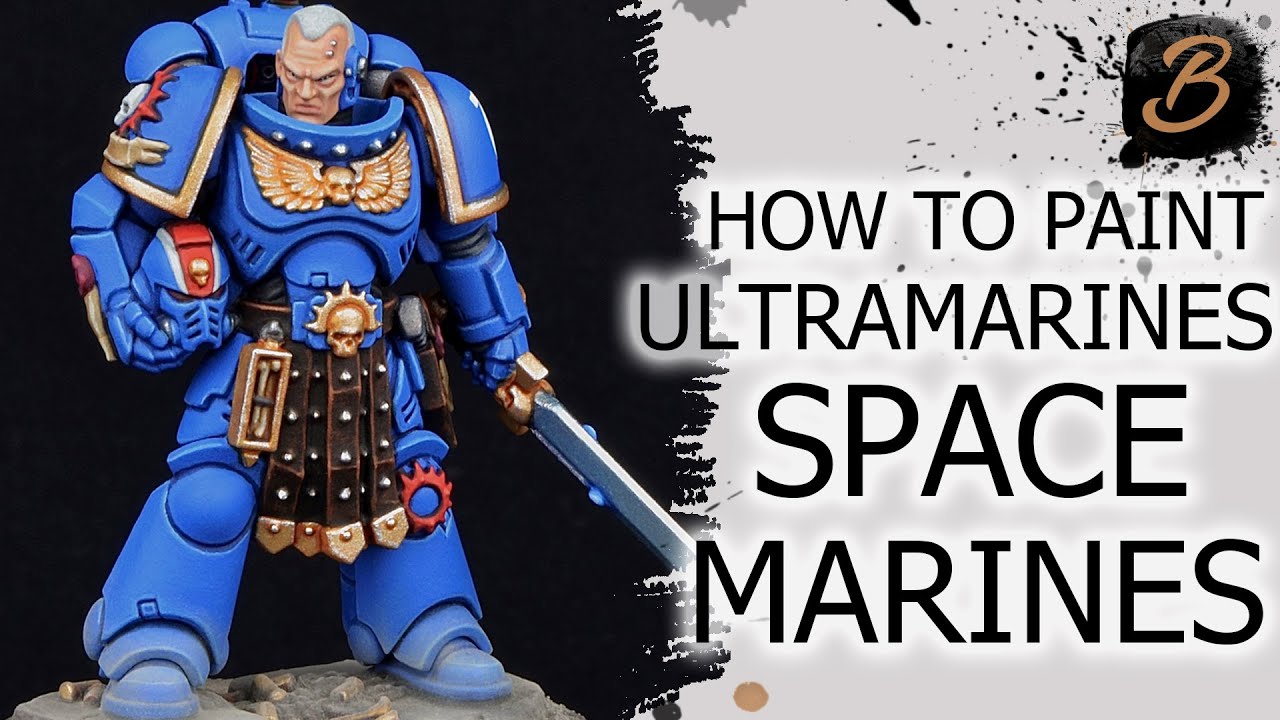
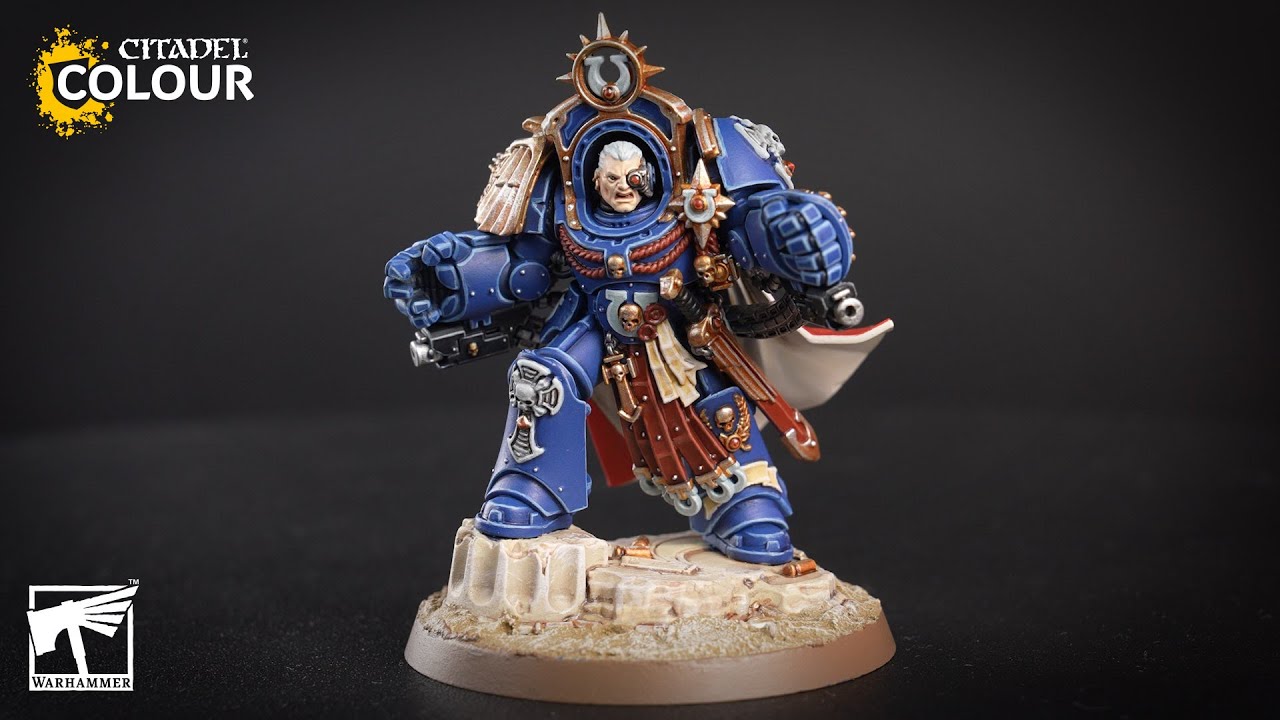
This tutorial demonstrates a great method for painting the legendary Lieutenant Titus from Warhammer 40,000 by Games Workshop. It covers painting the blue power armor, various metallic and non-metallic details, and finishing touches like skin, eyes, and parchment script, providing a guide suitable for any Ultramarine model.
Steps
Undercoat
-
Apply a grey undercoat to the entire miniature to help paint stick. Alternatively, a blue spray paint like Macragge Blue can be used for Ultramarines, but ensure to apply a brush-on blue base coat later to avoid texture differences.
Mechanicus Standard Grey Warhammer Colour (Citadel)
Blue Power Armour
-
Apply two thin coats of Marine Blue over all the blue power armour areas. It's okay to accidentally paint over areas that will be other colors for now.
Marine Blue Two Thin Coats
Silver Details
-
Apply two thin coats of Sir Coates Silver to all silver details, such as the chainsaw teeth and motor, small plugs on the legs, and forearm chains. Be careful when approaching blue areas to maintain neatness.
Sir Coates Silver Two Thin Coats
Black Details
-
Apply two thin coats of Death Reaper Shadow to all black details, including the main part of the chainsaw, gun body, and soft joints in the armor plates.
Death Reaper Two Thin Coats
Red Details
-
Apply two thin coats of Sanguine Scarlet to all red details, specifically the chainsaw grip and the lieutenant marking on the shoulder pad.
Sanguine Scarlet Two Thin Coats
Leather Details
-
Apply two thin coats of Noble Steed Brown to all leather details, such as the holster, belt, and pouches underneath the backpack.
Noble Steed Brown Two Thin Coats
Hair
-
Apply two thin coats of Cuirass Leather to Titus's hair, ensuring to cover all hair areas.
Cuirass Leather Two Thin Coats
Black Wash
2 steps-
1. Apply Oblivion Black Wash into the recessed panels of the blue power armor, ensuring to keep the wash in the deepest areas.
Oblivion Black Wash Two Thin Coats -
2. Apply Oblivion Black Wash directly over all the silver, black, red, leather, and hair details to add shading and depth.
Oblivion Black Wash Two Thin Coats
Gold Details
-
Apply two thin coats of Dragon's Gold to all gold details, including the shoulder pad trims, the chest aquila, and the pommel on his sword. Use the side of the brush for trims and work carefully into textured areas.
Dragon's Gold Two Thin Coats
Flesh Wash on Gold
-
Apply Flesh Wash neatly over all the gold details, ensuring to keep the wash only on the gold areas.
Flesh Wash Two Thin Coats
Purity Seal Wax
-
Apply two thin coats of Sword Hilt Burgundy to the wax part of the purity seals.
Sword Hilt Burgundy Two Thin Coats
Parchment and Bones
-
Apply two thin coats of Dragons Fang to the parchment details (like those coming out of the purity seals) and the bone relic.
Dragon Fang Two Thin Coats
Battle Mud Wash on Purity Seals/Parchment/Bones
-
Apply Battle Mud Wash directly over the burgundy wax, parchment, and bone details.
Battle Mud Wash Two Thin Coats
White Fabric Details
-
Apply two to three thin coats of Ivory Tusk to the white fabric details, such as the knee pad's 'U' shape, the loincloth, and the back cloth, gradually building up the color for smoothness.
Ivory Tusk Two Thin Coats
Apothecary White on Fabric
-
Apply Apothecary White contrast paint over the white fabric details to add shading in the creases.
Apothecary White Warhammer Colour (Citadel)
Skin
-
Apply two thin coats of Barbarian Brawn as the base coat for the skin, carefully working around the hair and gorge.
Barbarian Brawn Two Thin Coats
Flesh Wash on Skin
-
Apply Flesh Wash over the skin areas to add warmth and shading.
Flesh Wash Two Thin Coats
Skin Layering
-
Apply two thin, translucent coats of Dwarven Skin to the raised areas and flatter parts of the skin, avoiding the deepest recesses, to build up volume and definition.
Dwarven Skin Two Thin Coats
Skin Highlighting
-
Apply two thin coats of Elven Skin to the sharpest features and bone structure of the face (e.g., tip of the nose, above the eye, cheekbone), using thin lines to suggest wrinkles if desired.
Elven Skin Two Thin Coats
Stubble
-
Apply multiple thin coats of Dungeon Stone Grey (thinned to a glaze) to areas of the face where hair would grow (chin, cheeks, mustache area) to create a subtle stubble effect.
Dungeon Stone Grey Two Thin Coats
Eyes
2 steps-
1. Apply Doom Death Black as a thin black line in the recess of the eyes, above the lower eyelid and beneath the brow.
Doom Death Black Two Thin Coats -
2. Add two small dots of White Star into each eye to create the illusion of pupils.
White Star Two Thin Coats
Gold Highlights
-
Apply two thin coats of Glistening Gold as highlights on the gold areas, using the side of the brush to skim along sharp edges and the tip for inner details.
Glistening Gold Two Thin Coats
Silver Highlights
-
Apply two thin coats of Mythril Blade as highlights on the silver areas, focusing on sharper edges. Pick out small details like service studs on the forehead with a dot.
Mythril Blade Two Thin Coats
Red Highlights
-
Apply two thin coats of Demon Red as highlights on the red areas, following the outline of the sunburst design on the shoulder pad.
Demon Red Two Thin Coats
White Fabric Highlights
-
Apply two thin coats of White Star as highlights on the white fabric, skimming along the raised outlines and concentrating on the peaks of creases.
White Star Two Thin Coats
Purity Seal Parchment/Bone Highlights
-
Apply two thin coats of Vampire Fang as highlights on the parchment and bone details, picking out the peaks of creases and prominent bone structures.
Vampire Fang Two Thin Coats
Leather and Hair Highlights
-
Apply two thin coats of Wasteland Brown as highlights on the leather (using a dotting motion for texture) and the hair (following strands to bring out texture).
Wasteland Brown Two Thin Coats
Parchment Script
-
Using a dark warm brown, paint squiggles onto the purity seal parchment to give the impression of text. You don't need to write full words, just suggestive lines.
Cuirass Leather Two Thin Coats
Paints used
26 paints- Mechanicus Standard Grey Warhammer Colour (Citadel) · Base
- Marine Blue Two Thin Coats · Shadow
- Sir Coates Silver Two Thin Coats · Metallic
- Death Reaper Two Thin Coats · Midtone
- Sanguine Scarlet Two Thin Coats · Midtone
- Noble Steed Brown Two Thin Coats · Shadow
- Cuirass Leather Two Thin Coats · Shadow
- Oblivion Black Wash Two Thin Coats · Wash
- Dragon's Gold Two Thin Coats · Metallic
- Flesh Wash Two Thin Coats · Wash
- Sword Hilt Burgundy Two Thin Coats · Midtone
- Dragon Fang Two Thin Coats · Shadow
- Battle Mud Wash Two Thin Coats · Wash
- Ivory Tusk Two Thin Coats · Midtone
- Apothecary White Warhammer Colour (Citadel) · Contrast
- Barbarian Brawn Two Thin Coats · Shadow
- Dwarven Skin Two Thin Coats · Midtone
- Elven Skin Two Thin Coats · Highlight
- Dungeon Stone Grey Two Thin Coats · Highlight
- Doom Death Black Two Thin Coats · Shadow
- White Star Two Thin Coats · Highlight
- Glistening Gold Two Thin Coats · Metallic
- Mythril Blade Two Thin Coats · Metallic
- Demon Red Two Thin Coats · Highlight
- Vampire Fang Two Thin Coats · Highlight
- Wasteland Brown Two Thin Coats · Highlight