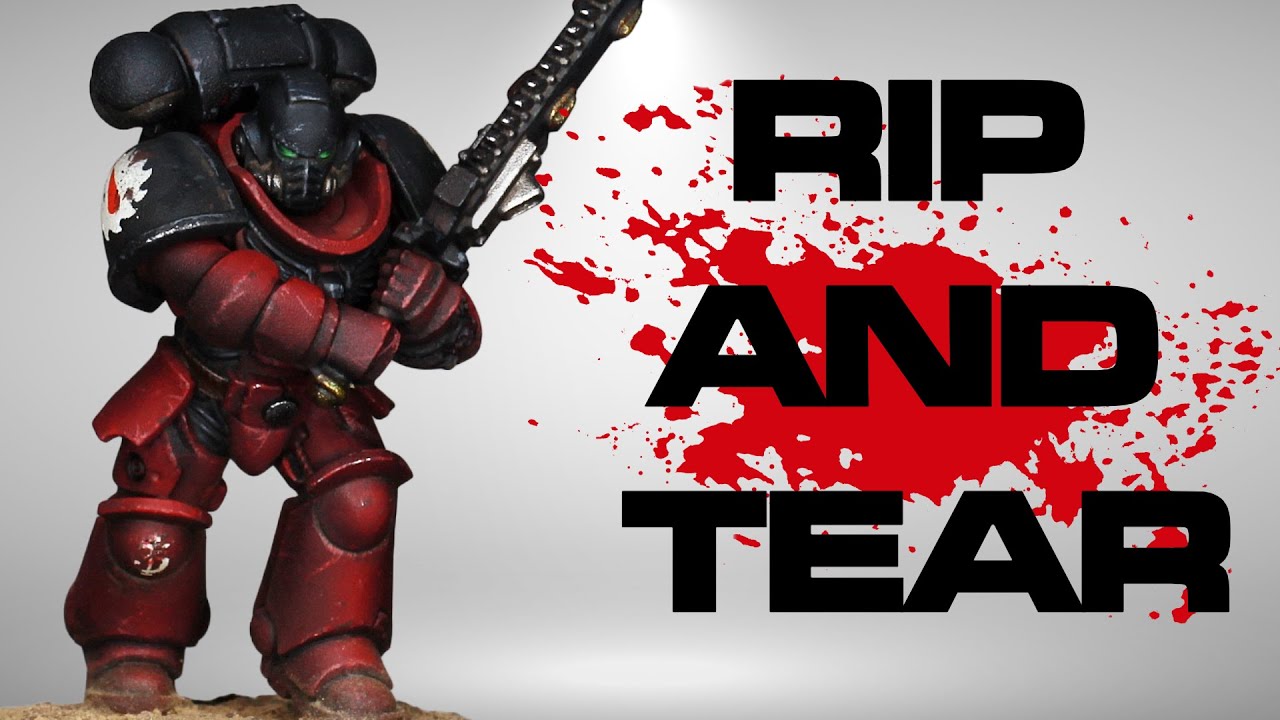
This tutorial provides a comprehensive guide to painting a Blood Angels Death Company Space Marine. Key techniques include basecoating the armour black, picking out intricate details with silver, red, grey, and brown, applying washes for depth, and layering and edge highlighting to make features stand out. It concludes with freehanding the iconic red crosses and achieving a glowing eye lens effect.
Steps
Undercoat
-
Undercoat the miniature using Standard Grey primer.
Standard Grey Colour Forge
Main Armour
3 steps-
1. Apply two thin coats of Doom Death Black to all parts of the power armour.
Doom Death Black Two Thin Coats -
2. Apply an edge highlight of Dungeon Stone Grey to all the edges and angles of the black power armour.
Dungeon Stone Grey Two Thin Coats -
3. Apply an additional, lighter edge highlight of Carcharadon Grey to the most prominent edges and angles of the black power armour.
Carcharodon Grey Two Thin Coats
Silver Details
3 steps-
1. Basecoat all silver details, such as mechanical parts of the bolt pistol, the chainblade on the chainsaw sword, pipes, and backpack vents, with two thin coats of Sir Coates Silver.
Sir Coates Silver Two Thin Coats -
2. Apply Oblivion Black Wash over the silver details to shade them.
Oblivion Black Wash Two Thin Coats -
3. Highlight the silver details by carefully edge highlighting with Mythril Blade.
Mythril Blade Two Thin Coats
Red Details
4 steps-
1. Basecoat the outer casings of the pistol and sword with two thin coats of Sanguine Scarlet.
Sanguine Scarlet Two Thin Coats -
2. Apply Oblivion Black Wash over the red details to shade them.
Oblivion Black Wash Two Thin Coats -
3. Layer Sanguine Scarlet back over the red areas, avoiding the recesses to maintain shading.
Sanguine Scarlet Two Thin Coats -
4. Highlight the red details by edge highlighting with Demon Red.
Demon Red Two Thin Coats
Grey Details
2 steps-
1. Basecoat armour joints (e.g., back of the leg), helmet pipes, and chainsaw sword grips with two thin coats of Eidolon Grey.
Eidolon Grey Two Thin Coats -
2. Apply Oblivion Black Wash over the grey details to shade them.
Oblivion Black Wash Two Thin Coats
Brown Details (Leather)
3 steps-
1. Basecoat leather parts like the belt, knife scabbard, pouches, and pistol holster with two thin coats of Scorched Earth.
Scorched Earth Two Thin Coats -
2. Apply Oblivion Black Wash over the brown details to shade them.
Oblivion Black Wash Two Thin Coats -
3. Highlight the leather details by applying Ancient Forest along the edges, dabbing slightly to create a rougher texture for worn leather.
Ancient Forest Two Thin Coats
Gold Details
4 steps-
1. Basecoat the winged skull design on the breastplate and any other gold decorations with two thin coats of Dragon's Gold.
Dragon's Gold Two Thin Coats -
2. Apply Flesh Wash over the gold details to shade them.
Flesh Wash Two Thin Coats -
3. Layer Dragon's Gold back over the gold areas, avoiding the recesses to maintain shading and bring back shine.
Dragon's Gold Two Thin Coats -
4. Highlight the gold details by edge highlighting with Glistening Gold.
Glistening Gold Two Thin Coats
Shoulder Pad Emblem
3 steps-
1. Basecoat the sculpted Blood Angels skull emblem on the shoulder pad with two thin coats of Ivory Tusk.
Ivory Tusk Two Thin Coats -
2. Apply Apothecary White over the emblem for shading, allowing it to settle into recesses.
Apothecary White Warhammer Colour (Citadel) -
3. Highlight the emblem by carefully applying White Star along the raised edges.
White Star Two Thin Coats
Eye Lenses
2 steps-
1. Paint a thin line of White Star in the middle of the eye lens recess.
White Star Two Thin Coats -
2. Apply Blood Angels Red over the entire eye lens recess, allowing it to tint the white line and create a glowing effect.
Blood Angels Red Warhammer Colour (Citadel)
Red Crosses (Freehand)
4 steps-
1. Start by painting a central dot of Sanguine Scarlet on the desired area (e.g., shoulder pad).
Sanguine Scarlet Two Thin Coats -
2. From the central dot, paint a straight line across the shoulder pad with Sanguine Scarlet, ensuring the line is smooth.
Sanguine Scarlet Two Thin Coats -
3. Paint another straight line with Sanguine Scarlet crossing the first one at the central dot, forming an 'X' shape.
Sanguine Scarlet Two Thin Coats -
4. Broaden the lines of the cross with Sanguine Scarlet to achieve the desired thickness, building it out from the initial lines.
Sanguine Scarlet Two Thin Coats
Paints used
19 paints- Standard Grey Colour Forge · Spray
- Doom Death Black Two Thin Coats · Shadow
- Dungeon Stone Grey Two Thin Coats · Highlight
- Carcharodon Grey Two Thin Coats · Midtone
- Sir Coates Silver Two Thin Coats · Metallic
- Oblivion Black Wash Two Thin Coats · Wash
- Mythril Blade Two Thin Coats · Metallic
- Sanguine Scarlet Two Thin Coats · Midtone
- Demon Red Two Thin Coats · Highlight
- Eidolon Grey Two Thin Coats · Midtone
- Scorched Earth Two Thin Coats · Shadow
- Ancient Forest Two Thin Coats · Midtone
- Dragon's Gold Two Thin Coats · Metallic
- Flesh Wash Two Thin Coats · Wash
- Glistening Gold Two Thin Coats · Metallic
- Ivory Tusk Two Thin Coats · Midtone
- Apothecary White Warhammer Colour (Citadel) · Contrast
- White Star Two Thin Coats · Highlight
- Blood Angels Red Warhammer Colour (Citadel) · Contrast