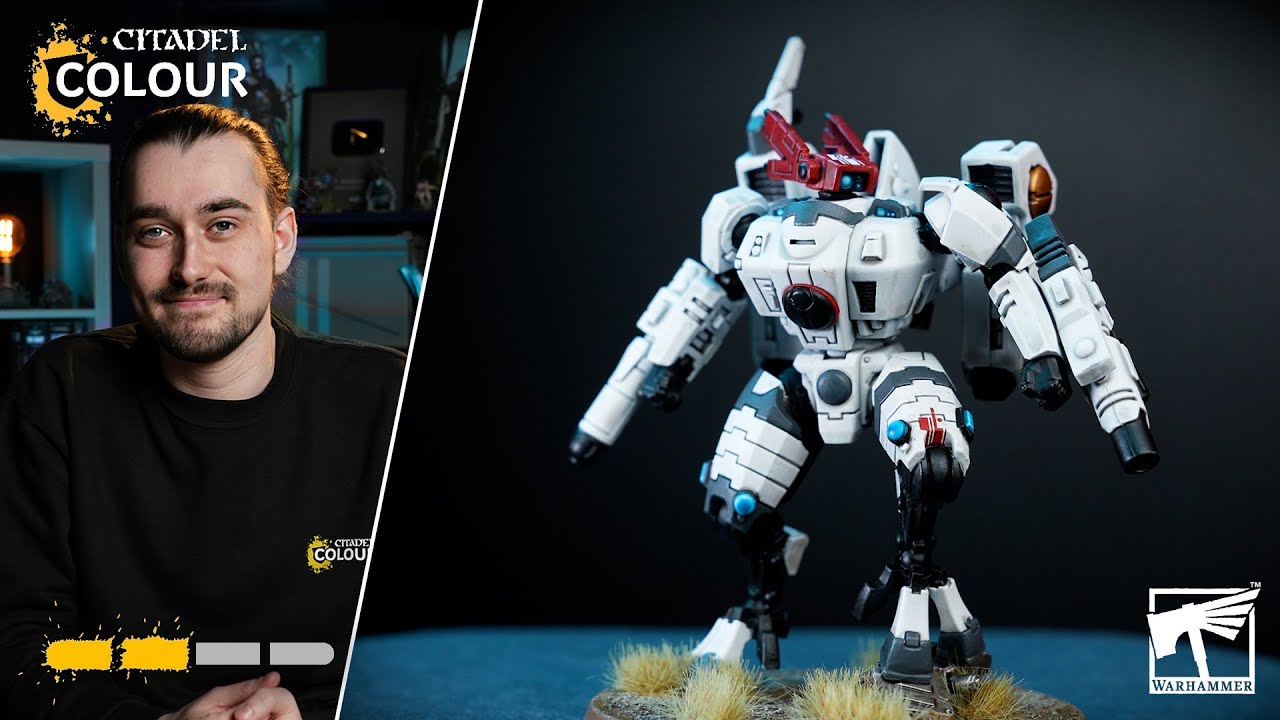
This tutorial shows how to paint the iconic Commander Farsight for Warhammer 40,000, covering assembly tips like sub-assemblies for detailed areas. It guides viewers through base coating, shading, and highlighting the red power armour, black internal parts, and white helmet, as well as detailing the gold, parchment, Dawn Blade, and glowing blue elements.
Steps
Red Power Armour
8 steps-
1. Undercoat the entire model with a bright red spray.
Mephiston Red Warhammer Colour (Citadel) -
2. Basecoat all red armour panels with a bright red, using two thin coats.
Sanguine Scarlet Two Thin Coats -
3. Apply a darker red tone to selected armour panels, using two thin coats.
Gal Vorbak Red Warhammer Colour (Citadel) -
4. Shade the red armour panels by neatly applying a black wash into the recesses, using two thin coats.
Oblivion Black Wash Two Thin Coats -
5. Edge highlight the brighter red armour panels, using two thin coats.
Demon Red Two Thin Coats -
6. Apply a fine edge highlight to the brighter red armour panels with an orange, using two thin coats.
Orange Flare Two Thin Coats -
7. Edge highlight the darker red armour panels, using two thin coats.
Wazdakka Red Warhammer Colour (Citadel) -
8. Apply a fine edge highlight to the darker red armour panels with an orange, using two thin coats.
Squig Orange Warhammer Colour (Citadel)
Black Internal Parts
3 steps-
1. Basecoat the inner suit parts (joints, mechanical bits) with a pitch black, using two thin coats.
Doom Death Black Two Thin Coats -
2. Edge highlight the black internal parts with a dark grey, using two thin coats.
Dungeon Stone Grey Two Thin Coats -
3. Apply a fine edge highlight to the black internal parts with a lighter grey, using two thin coats.
Carcharodon Grey Two Thin Coats
White Helmet & Details
4 steps-
1. Basecoat the helmet and other white details with an ivory colour, using two thin coats.
Ivory Tusk Two Thin Coats -
2. Shade the helmet and white details by mixing a brown wash with Lahmian Medium and applying it neatly into the recesses, using two thin coats.
Griffon Claw Two Thin Coats -
3. Layer the helmet and white details with the original ivory colour on the flat areas, using two thin coats.
Ivory Tusk Two Thin Coats -
4. Highlight the helmet and white details with a pure white, using two thin coats.
White Star Two Thin Coats
Gold Details
4 steps-
1. Basecoat the gold details (screws, sword hilt) with a bright gold, using two thin coats.
Dragon's Gold Two Thin Coats -
2. Wash the gold details with a dark brown wash, using two thin coats.
Battle Mud Wash Two Thin Coats -
3. Layer the gold details on the flat surfaces with the original gold colour, using two thin coats.
Dragon's Gold Two Thin Coats -
4. Highlight the gold details on ridges and top edges with a pale gold, using two thin coats.
Glistening Gold Two Thin Coats
Parchment
5 steps-
1. Basecoat the parchment with a medium bone colour, using two thin coats.
Skeleton Legion Two Thin Coats -
2. Wash the parchment with a dark brown wash, using two thin coats.
Battle Mud Wash Two Thin Coats -
3. Layer the parchment on the flat parts, carefully avoiding the recesses, with the original bone colour, using two thin coats.
Skeleton Legion Two Thin Coats -
4. Highlight the parchment on the outside edges and prominent creases with a pale bone colour, using two thin coats.
Vampire Fang Two Thin Coats -
5. Apply a fine highlight to the very ends of the parchment with an ivory colour, using two thin coats.
Ivory Tusk Two Thin Coats
Dawn Blade
9 steps-
1. Basecoat the entire blade with a dark metallic silver, using two thin coats.
Dwarven Iron Two Thin Coats -
2. Basecoat the glowing blue ridge on the blade with a deep turquoise, using two thin coats.
Cursed Blue Two Thin Coats -
3. Wash the entire blade with a black wash, ensuring it runs into the recessed texture, using two thin coats.
Oblivion Black Wash Two Thin Coats -
4. Layer the dark metal areas of the blade with the original dark metallic silver, carefully avoiding scratches and dings, using two thin coats.
Dwarven Iron Two Thin Coats -
5. Layer the cutting edge of the blade with a lighter metallic silver, using two thin coats.
Sir Coates Silver Two Thin Coats -
6. Highlight the back edge of the blade with a bright metallic silver, using two thin coats.
Mythril Blade Two Thin Coats -
7. Layer the glowing blue ridges with the deep turquoise, in the middle of each ridge, using two thin coats.
Cursed Blue Two Thin Coats -
8. Layer the glowing blue ridges with a lighter turquoise, in the middle of each ridge, using two thin coats.
Ray Gun Glow Two Thin Coats -
9. Apply a final pure white dot to the glowing blue details, in the very middle of each ridge, using two thin coats.
White Star Two Thin Coats
Glowing Blue Details (Lenses, Symbols, Rifle Vents)
4 steps-
1. Basecoat the lenses, symbols, and rifle vents with a deep turquoise, using two thin coats.
Sentient Turquoise Two Thin Coats -
2. Layer the glowing blue details with the deep turquoise, focusing on the middle of each area, using two thin coats.
Cursed Blue Two Thin Coats -
3. Layer the glowing blue details with a lighter turquoise, focusing on the middle of each area, using two thin coats.
Ray Gun Glow Two Thin Coats -
4. Apply a final pure white dot to the glowing blue details, in the very middle of each area, using two thin coats.
White Star Two Thin Coats
Sept Markings
-
Freehand the sept markings onto the armour with an ivory colour, creating simple or complex designs as desired, using two thin coats.
Ivory Tusk Two Thin Coats
Paints used
25 paints- Mephiston Red Warhammer Colour (Citadel) · Base
- Sanguine Scarlet Two Thin Coats · Midtone
- Gal Vorbak Red Warhammer Colour (Citadel) · Base
- Oblivion Black Wash Two Thin Coats · Wash
- Demon Red Two Thin Coats · Highlight
- Orange Flare Two Thin Coats · Highlight
- Wazdakka Red Warhammer Colour (Citadel) · Layer
- Squig Orange Warhammer Colour (Citadel) · Layer
- Doom Death Black Two Thin Coats · Shadow
- Dungeon Stone Grey Two Thin Coats · Highlight
- Carcharodon Grey Two Thin Coats · Midtone
- Ivory Tusk Two Thin Coats · Midtone
- Griffon Claw Two Thin Coats · Shadow
- White Star Two Thin Coats · Highlight
- Dragon's Gold Two Thin Coats · Metallic
- Battle Mud Wash Two Thin Coats · Wash
- Glistening Gold Two Thin Coats · Metallic
- Skeleton Legion Two Thin Coats · Midtone
- Vampire Fang Two Thin Coats · Highlight
- Dwarven Iron Two Thin Coats · Metallic
- Cursed Blue Two Thin Coats · Midtone
- Sir Coates Silver Two Thin Coats · Metallic
- Mythril Blade Two Thin Coats · Metallic
- Ray Gun Glow Two Thin Coats · Highlight
- Sentient Turquoise Two Thin Coats · Shadow